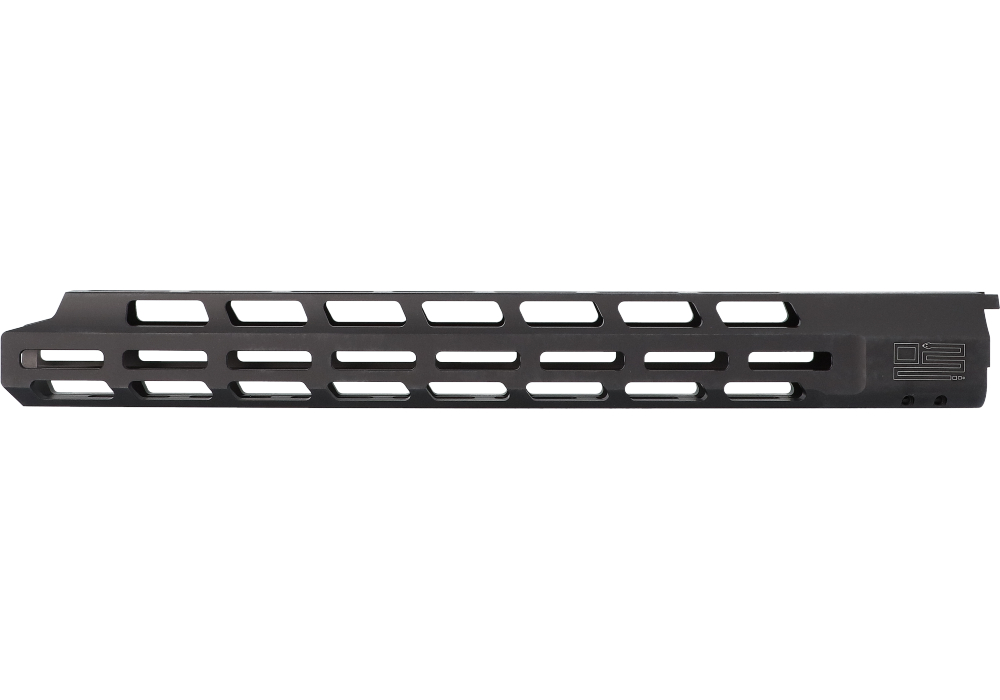
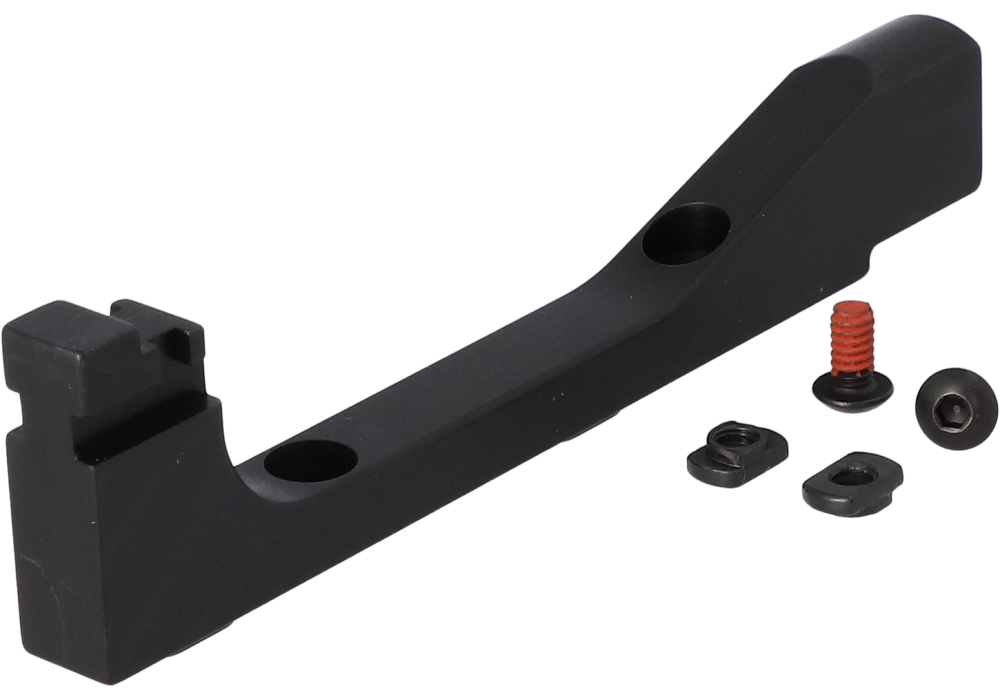
Firearm rail mounting kits provide a practical way to configure a firearm for the accessories that fit a particular shooting routine. A properly selected kit can support a scope, red dot sight, flashlight, laser, bipod, sling attachment, or other compatible accessory while keeping the setup organized and secure. The first step is matching the rail or mounting base to the exact firearm model, receiver pattern, action, handguard, and existing attachment points. Even systems that look similar may use different dimensions, slot spacing, screw patterns, or mounting hardware. Picatinny rail systems, identified by their cross-slot design and MIL-STD-1913 specifications, offer broad compatibility with many rail-mounted accessories. M-LOK systems use negative-space slots in a handguard and allow compatible accessories to attach directly with T-nuts and screws, often keeping the profile trim and reducing unnecessary weight. Weaver and dovetail systems can appear similar to Picatinny rails, yet their slot dimensions and accessory fit may differ. Confirming the rail standard before purchase helps prevent fitment problems and supports a cleaner, more dependable setup. Shoppers should also review whether a kit is intended for a receiver, handguard, stock, or another mounting surface, since each location can require a different base, fastener length, or installation method. Product details should identify the supported firearm family, rail interface, included hardware, and any tools or instructions required for installation.
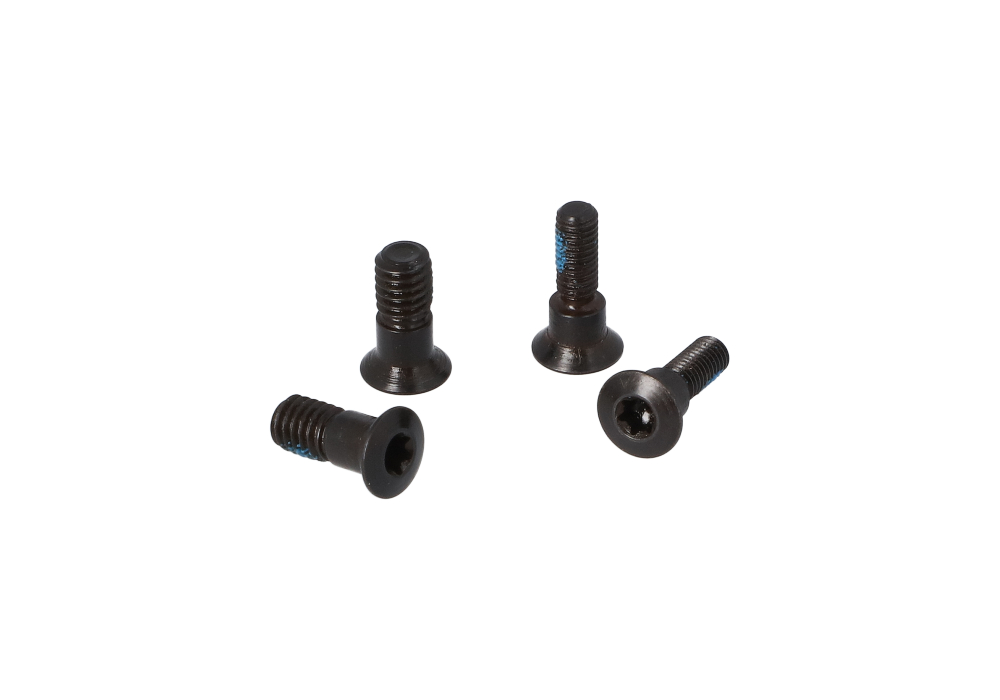
Material and construction deserve close attention, particularly for firearms used outdoors, during training, or in changing weather. CNC-machined aluminum, including 6061-T6 or 7075-T6 options, offers a useful balance of strength and weight, while hard-coat anodizing can help the surface resist wear and environmental exposure. Steel hardware may provide additional durability in high-stress mounting points, although the correct combination depends on the firearm and the accessory being installed. A quality kit should include the appropriate screws, such as Torx or hex-head fasteners, along with nuts, clamps, or T-nuts designed for the selected rail interface. Fasteners that are too long can interfere with internal components, while fasteners that are too short may not provide sufficient engagement. Installation should take place with the firearm unloaded, the chamber checked, and the work area arranged so small screws and tools remain easy to see. Follow the firearm and mounting-kit instructions, use the recommended torque values, and apply only the thread-locking compound specified for the hardware when appropriate. Avoid forcing a screw that does not align naturally, and inspect the rail after installation to confirm it sits flush and does not shift under hand pressure. Once an accessory is attached, check eye relief, control access, balance, and clearance before heading to the range. A flashlight should remain reachable without an awkward grip change, a bipod should deploy without contacting nearby controls, and an optic should sit at a height that supports a consistent cheek weld. These practical details are often more important than appearance, especially when the setup will be carried over uneven ground or used while wearing gloves during cooler months.
Rail mounting kits can serve experienced shooters refining a familiar setup, new firearm owners assembling a versatile configuration, or outdoor enthusiasts preparing equipment for range practice, property use, competition, or field activities where lawful. They can also be a thoughtful gift for a responsible firearm owner when the recipient’s firearm model and preferred rail system are known. Because compatibility is so specific, a gift card or a carefully confirmed kit is usually more useful than choosing a mounting system based only on appearance. Before selecting, note the firearm’s make and model, receiver or handguard type, current rail interface, and the accessory intended for use. Consider the accessory’s weight as well as its mounting footprint; a compact light and a full-size optic place different demands on a rail. A longer rail may provide more positioning options, while a shorter rail can preserve hand clearance and reduce excess weight. After installation, mark the accessory position if repeatable placement matters, and inspect screws and mounting points as part of routine maintenance. Dust, grit, moisture, and repeated handling can affect small fasteners over time, so wipe the rail and hardware clean and check for movement before each session. Keep optics protected when the firearm is stored, and separate transport and storage practices from installation work so the equipment remains secure and ready for inspection. Shoppers comparing mounting solutions may also find useful options among Firearm Accessory Kits, while remembering that every accessory should be selected for the intended firearm, rail standard, and lawful use. With careful fitment and thoughtful placement, a rail mounting kit can help turn a basic configuration into a more comfortable, adaptable, and organized setup.