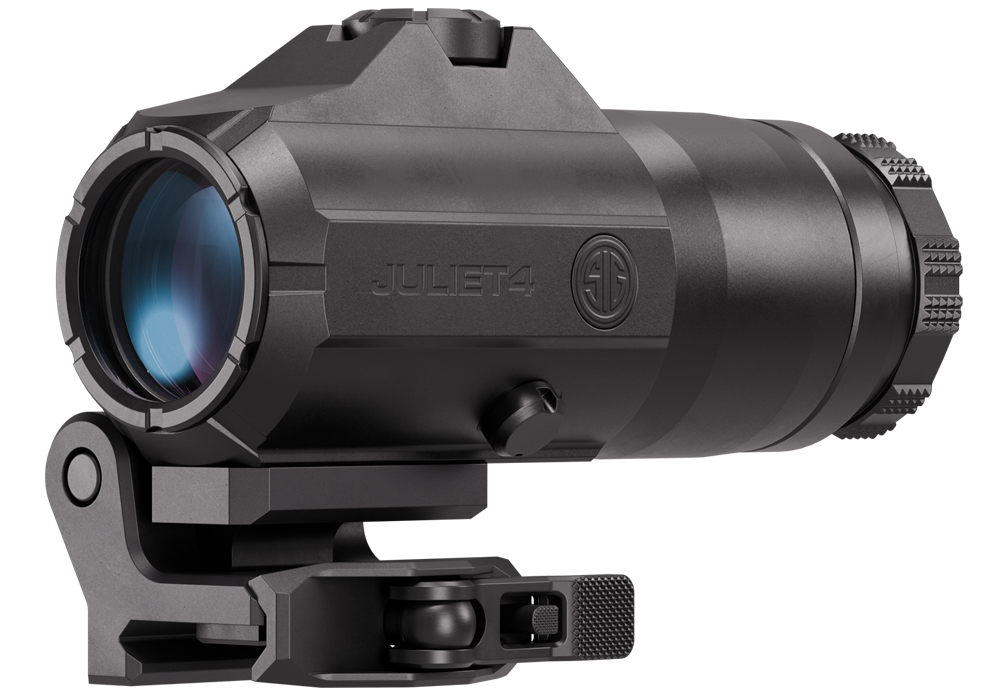
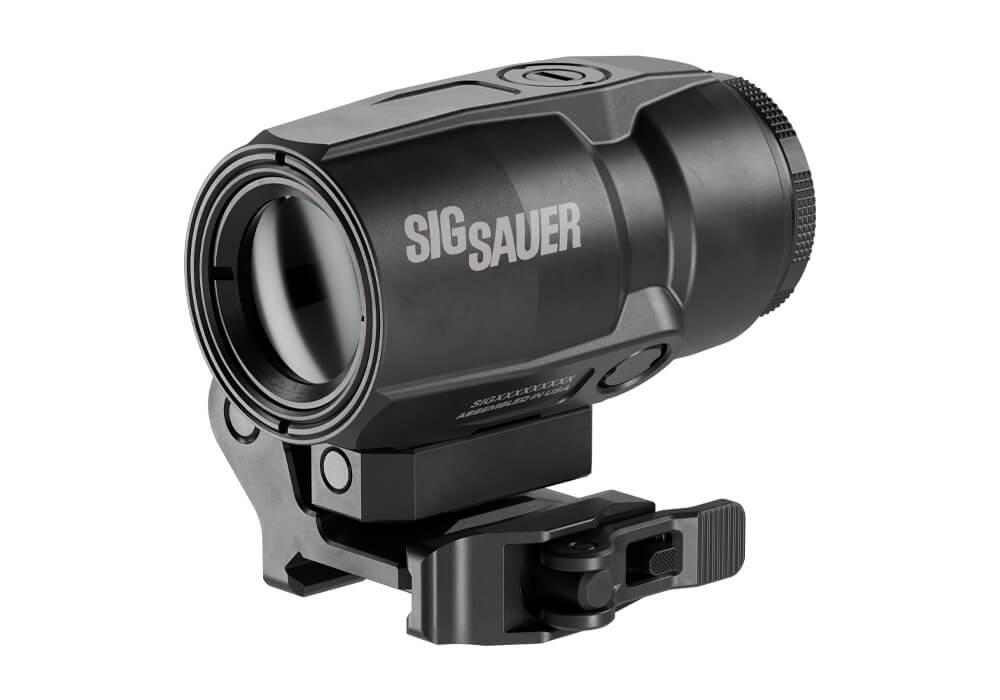
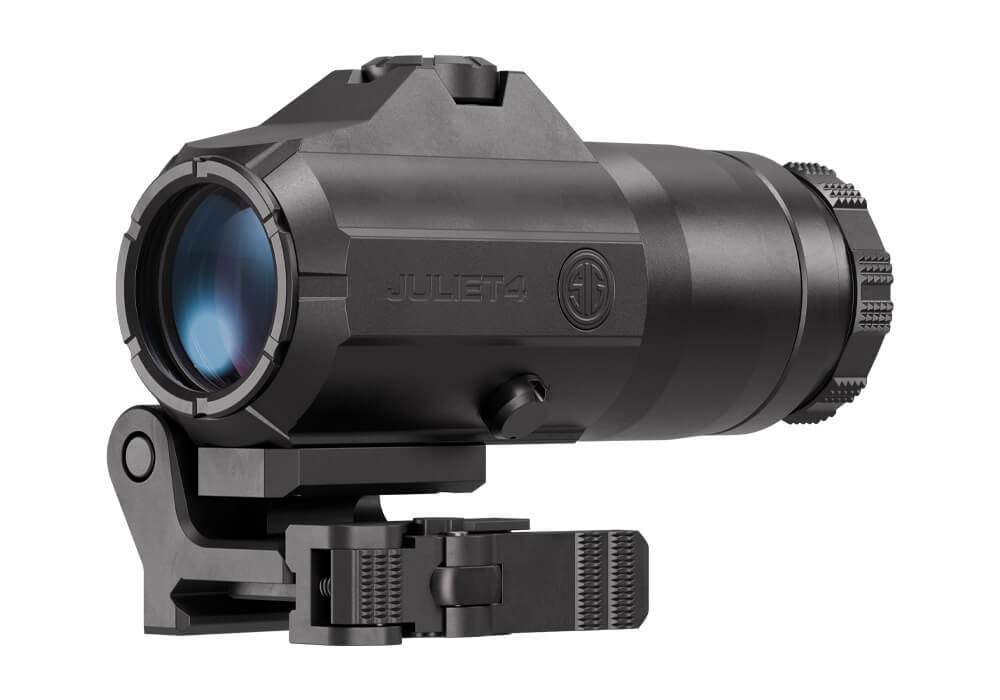
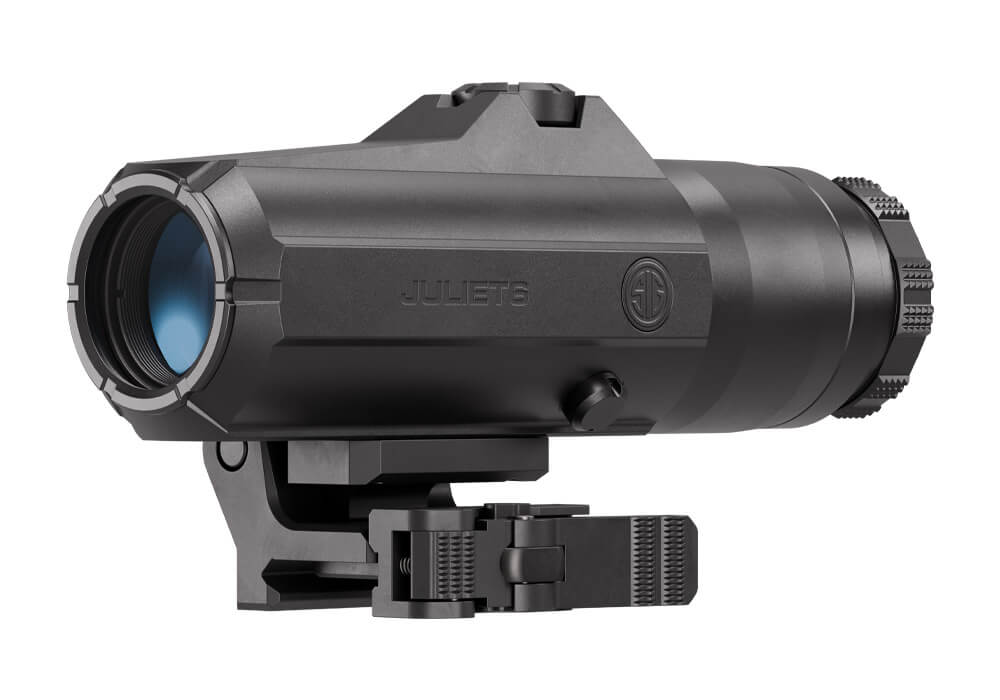
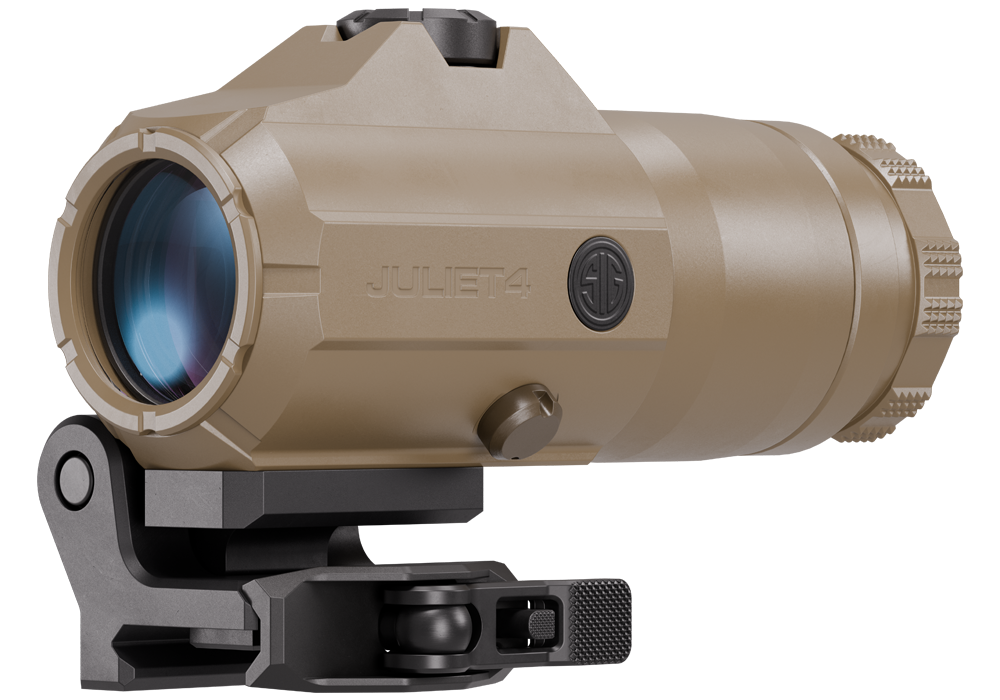
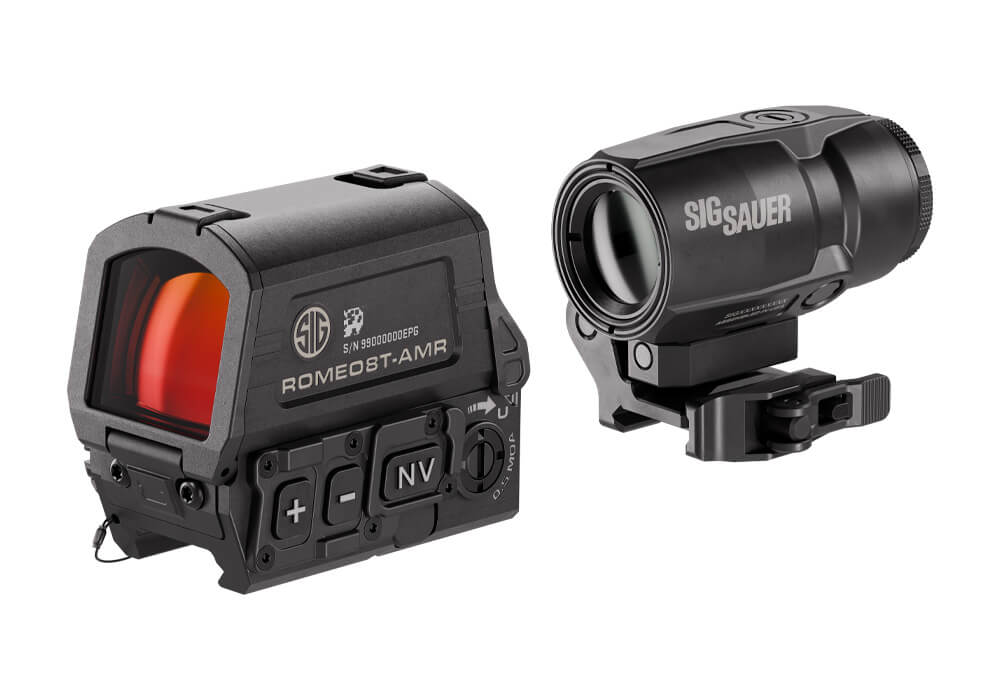
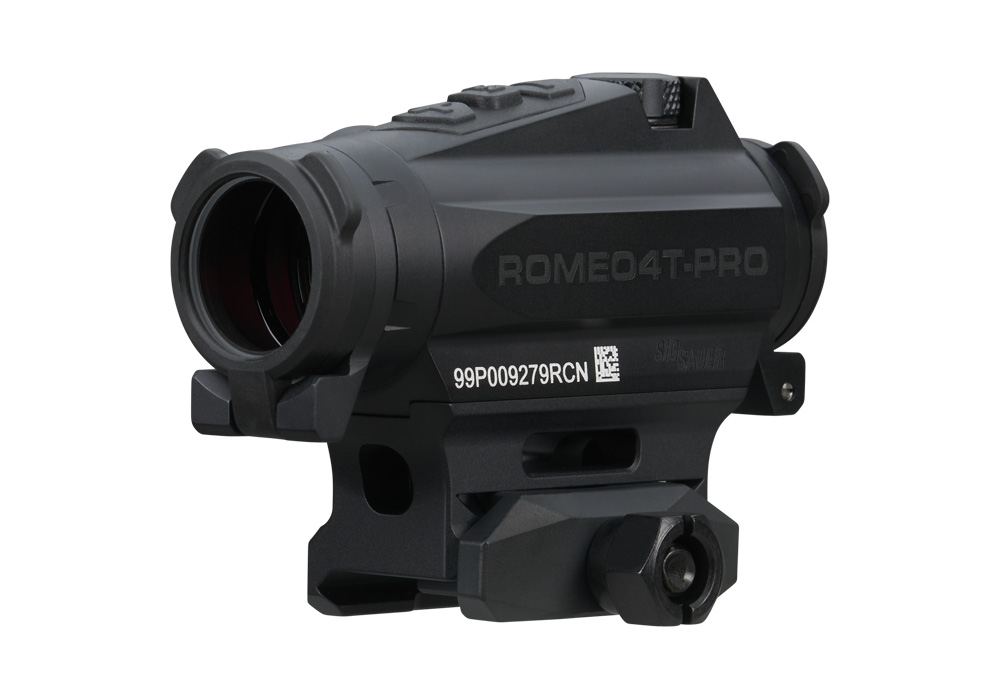
Magnifiers for tactical optics setups add flexible distance capability to a rifle equipped with a red dot or holographic sight. Mounted behind the primary optic, a magnifier enlarges the target image and the illuminated reticle, helping the shooter make better use of the sight picture when targets are farther away or fine aiming is important. The most common configuration uses a hinged flip-to-side mount, allowing the magnifier to move out of the optical path for a broad, non-magnified view and return behind the optic when additional detail is useful. This makes the setup adaptable across changing terrain and shooting positions: a clear, unmagnified sight picture can be helpful when engaging close targets or moving between positions, while magnification can support more deliberate aiming across open ground, a field, or a well-defined shooting lane. A 3x magnifier remains a popular middle ground because it offers a noticeable increase in image size without adding as much bulk as greater magnification levels. Shooters who regularly work across varied distances may also consider 5x or 6x options, especially when a little more reach and target definition are worth the added size, weight, and potentially narrower field of view. Explore 3x Magnifiers For Tactical Rifles when a balanced combination of versatility, compactness, and straightforward operation fits the intended setup. These optics can suit recreational rifle owners, competitive shooters, hunters using compatible platforms, and professionals who need a sighting system that can transition between close and intermediate distances. They can also be a thoughtful gift for an experienced rifle owner who already has a compatible red dot or holographic sight, though the recipient’s optic height, mounting standard, rail space, and preferred shooting style should be confirmed before selecting a magnifier.
Compatibility is the first consideration when comparing magnifiers. The optical centerline needs to align with the centerline of the existing red dot or holographic sight, and the mount must place both optics at the same height and in the correct orientation. Common setups use center heights in the approximate 39 mm to 42 mm range, but the measurement that matters is the relationship between the primary optic, magnifier mount, and rifle’s rail system. A magnifier that sits too high or too low may produce an inconsistent sight picture, while a mismatched mount can prevent the unit from flipping smoothly or returning to the same position. Check whether the mount is intended for absolute or lower-third co-witness configurations, then compare that specification with the optic already installed. Rail space also deserves attention. The magnifier needs to sit far enough behind the primary optic to provide comfortable eye relief, while the flip-to-side mechanism must have room to move without contacting a rear sight, charging handle, stock, sling hardware, or other accessories. Eye relief commonly falls in the range of roughly 2.5 to 3.5 inches, but the practical result depends on the shooter’s cheek weld, stock position, and shooting stance. When the eye is placed too far away, the image may appear as a small, shadowed circle or show a tunnel effect around the edges. When the magnifier is positioned correctly, the viewing window should appear bright and usable, with enough room for natural head movement during a dynamic presentation. Adjustable windage and elevation controls can help center the reticle within the magnified image, but they do not replace proper mounting or a correctly aligned primary optic. Consider overall length and weight as well; a compact magnifier may preserve balance and leave more room on the rail, while a larger unit may offer a wider viewing window or more forgiving eye box. Weather-resistant construction, lens coatings, durable adjustment controls, and a mount that locks securely in both positions are also valuable features for equipment that may be carried through dust, rain, changing temperatures, and repeated handling.
A magnifier works as part of an optical system, so the setup should be evaluated as a complete package rather than as an isolated accessory. The red dot or holographic sight is normally zeroed with the magnifier moved aside, establishing the rifle’s primary point of aim without magnification. Once that sight is confirmed, the magnifier’s own adjustments can be used to center the reticle in the enlarged view. The magnifier does not create a separate aiming point; it enlarges the existing reticle and the target image together, which means a properly aligned and consistently zeroed primary optic remains essential. Before heading to the range or into the field, practice should include both positions of the mount. Moving the unit aside and back into line should become a familiar motion, and the shooter should verify that the image remains clear and the reticle appears centered after repeated transitions. A firm cheek weld, consistent stock placement, and a mount that returns to a repeatable position all contribute to a more dependable sight picture. During warmer outdoor conditions, bright sunlight can make lens glare and reticle intensity especially noticeable; during cooler months, temperature changes and gloves may affect how easily the mount can be operated. Inspect fasteners, lens surfaces, and hinge tension periodically, and follow the manufacturer’s instructions for installation, maintenance, and torque specifications. Magnifiers are most useful when their added capability matches the rifle’s purpose, the optic’s height, the available rail space, and the shooter’s practiced method of use. Selecting the right magnification, eye relief, mount configuration, and physical profile can turn a basic red dot setup into a more adaptable tactical optics arrangement while preserving the quick, unobstructed view that makes non-magnified sights so effective at closer distances.