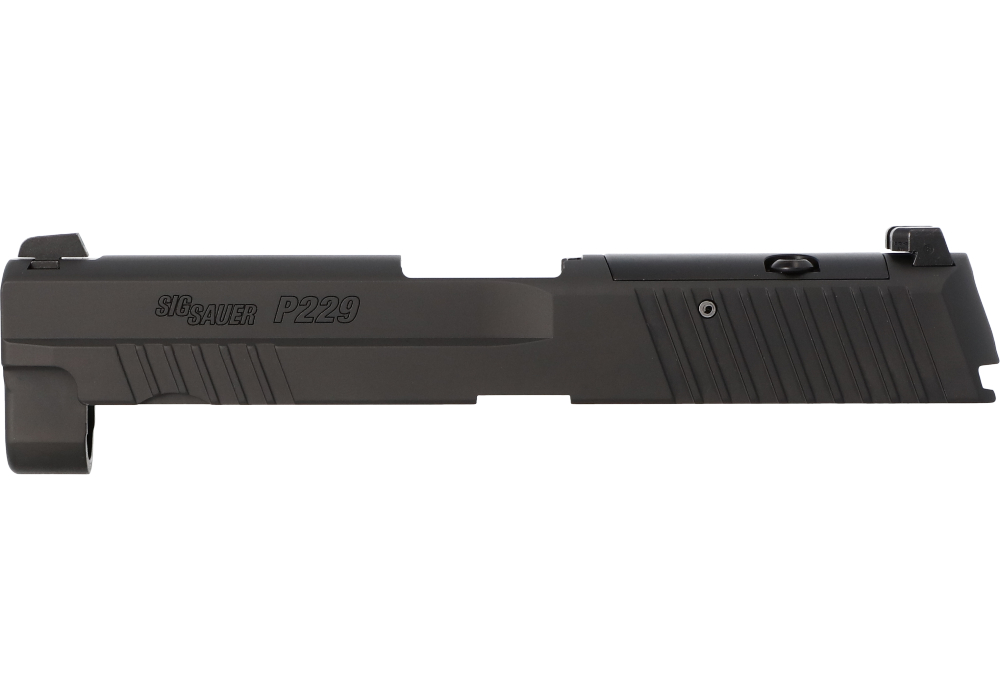
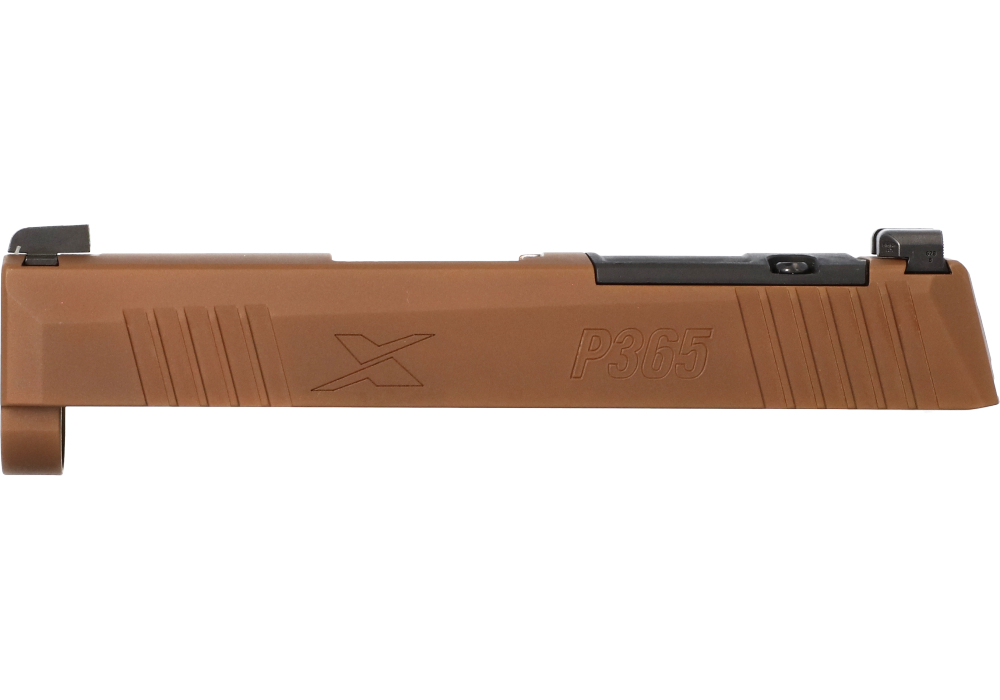
Handgun mounting kits for red dot sights provide a practical way to pair a pistol with a compact reflex optic, whether the handgun was designed with an optics-ready slide or has a traditional rear sight cut. These kits generally fall into two categories: adapter plates for factory modular optic cuts and dovetail mounts that occupy the rear iron sight slot. An adapter plate bridges the connection between the handgun’s slide and the optic’s footprint, while a dovetail mount offers an option for many older or non-optic-ready handguns without permanently altering the slide. The correct choice begins with an exact match among the handgun make and model, slide configuration, mounting system, and red dot footprint. Even handguns from the same family can use different plate patterns, screw sizes, or plate thicknesses, so product descriptions and manufacturer compatibility charts deserve close attention before ordering. Shoppers comparing Red Dot Sight Mounts will find that the best fit is determined by more than appearance; the mount must seat securely, maintain proper clearance, and position the optic at a height that works with the handgun’s sights and the shooter’s presentation. For a pistol that already has an optics-ready cut, a purpose-built adapter plate is often the cleanest route. For a well-loved range handgun or a defensive pistol without a factory cut, a dovetail solution can add an optic without sending the slide out for permanent modification. Direct slide milling remains another option for owners seeking the lowest possible mounting position, but that work is a separate gunsmithing service rather than a universal mounting kit and should be evaluated carefully for the specific slide and optic.
The details of installation matter because a small mounting component endures repeated recoil, vibration, holster movement, and the everyday handling that comes with training. Before fitting any plate or mount, confirm that the firearm is unloaded, remove the magazine, inspect the chamber, and follow the handgun and mounting kit instructions from start to finish. Threads and screw holes should be free of oil, grease, and debris; a careful wipe with an appropriate degreasing agent can help prevent fasteners from loosening, provided the product instructions allow it. Screw length deserves particular attention. A fastener that is too short may not provide sufficient engagement, while one that is too long can protrude into the slide or interfere with internal parts, creating a serious function problem. Use only the supplied or specified hardware whenever possible, and do not substitute screws based solely on matching diameter. A calibrated inch-pound torque driver is useful for achieving consistent tension, but the optic and mount manufacturer’s torque specification always takes priority. Many mounting systems call for torque in the mid-teens, often around 15 to 18 inch-pounds, though specifications vary by design and fastener. A small amount of removable threadlocker may be appropriate where directed, but excess compound can migrate into the optic, firing mechanism, or screw holes. Once installed, inspect the mount for even contact, verify that the optic sits flat, and cycle the unloaded action by hand to check for clearance. After confirming safe function, recheck the fasteners after the first practice session and establish a zero before relying on the setup for defensive use, competition, or field carry.
A handgun mounting kit can be a thoughtful addition for an experienced shooter who wants to update a familiar pistol, a new handgun owner building a training setup, or a family member who already has a compatible red dot sight and needs the correct hardware to complete the installation. It is also a useful gift for someone who spends cooler months practicing at an indoor range, preparing for a competition season, or refining a practical carry setup, but compatibility should be confirmed before purchase. The most helpful information to have on hand is the handgun’s complete model designation, whether its slide is factory cut for an optic, the existing rear sight configuration, and the exact optic footprint. A clear photograph can help with general identification, but it should not replace the manufacturer’s specifications. Shooters often choose a mount based on the desired sight picture: a lower position may help preserve a familiar presentation and support co-witnessing with suitable iron sights, while a taller arrangement may be necessary for certain optic bodies or mounting interfaces. Consider the mount’s material, finish, edge profile, included hardware, and whether it preserves access to the optic’s controls and battery compartment. Holster compatibility is another practical concern, since an optic-equipped handgun may require a cut or clearance that a standard holster does not provide. As weather warms or during the cooler months, a mounting kit can support everything from structured range practice to careful equipment upgrades at the workbench. With the correct fit, properly secured hardware, and a deliberate zeroing process, these kits help shooters integrate a red dot sight into an existing handgun platform while preserving the reliability, handling, and confidence that make a familiar pistol useful.