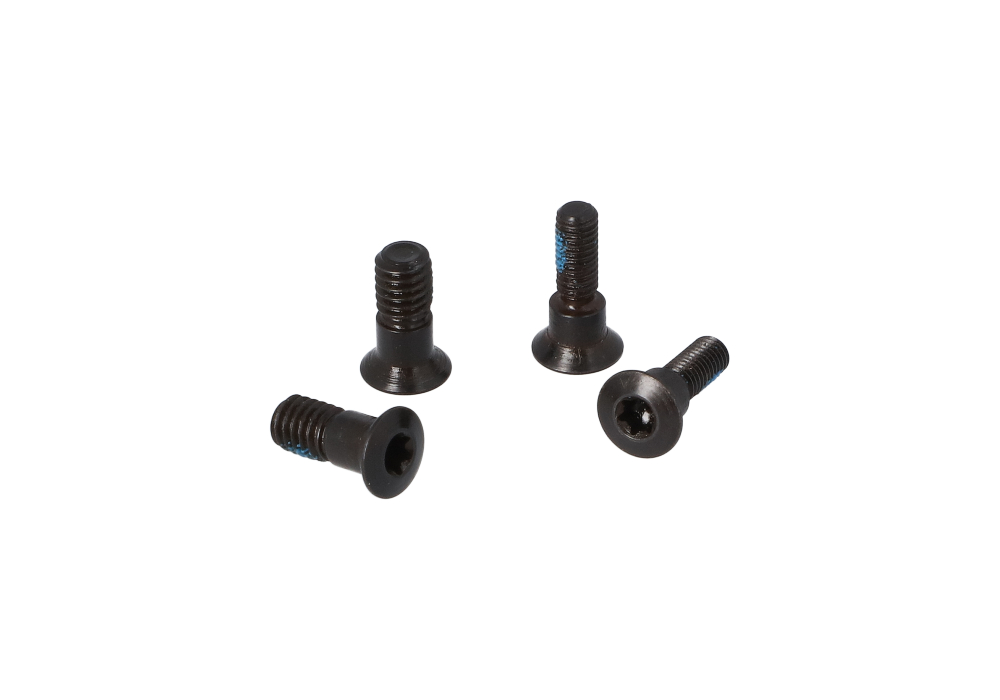
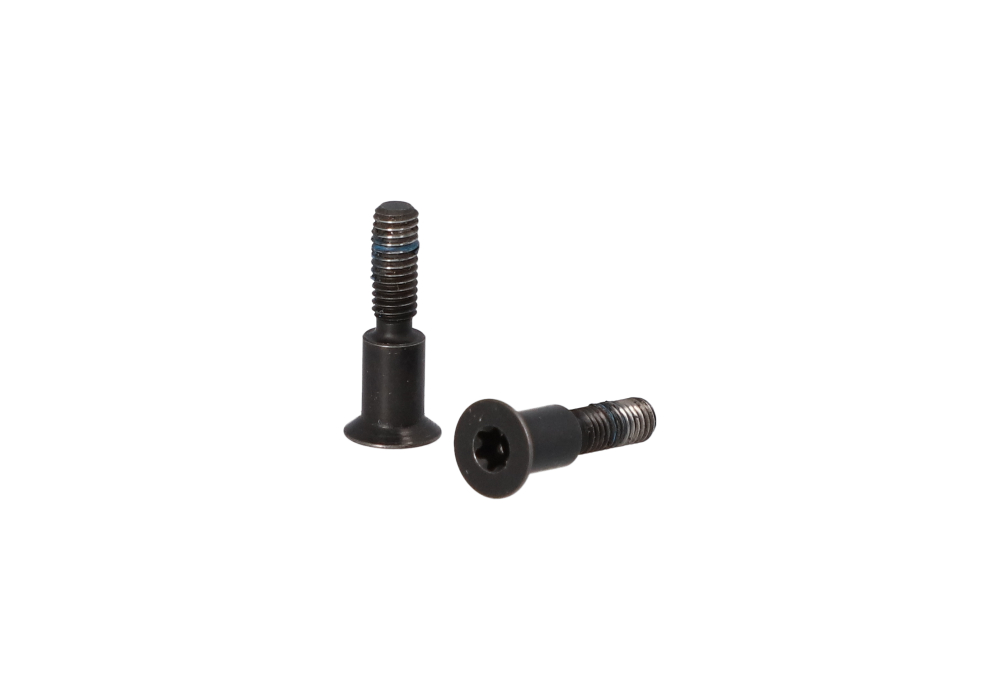
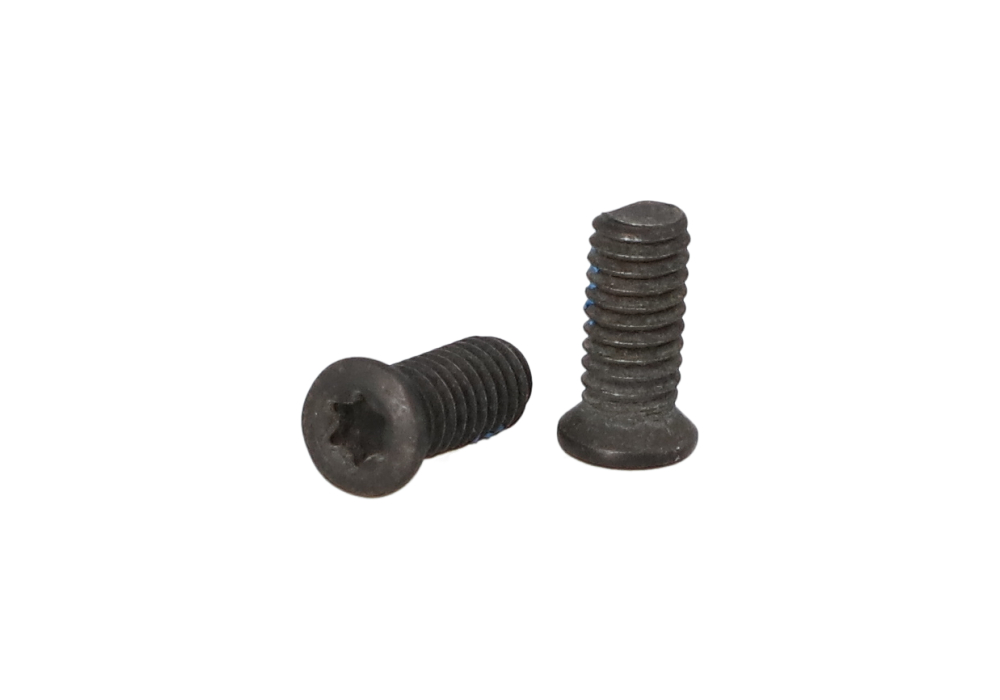
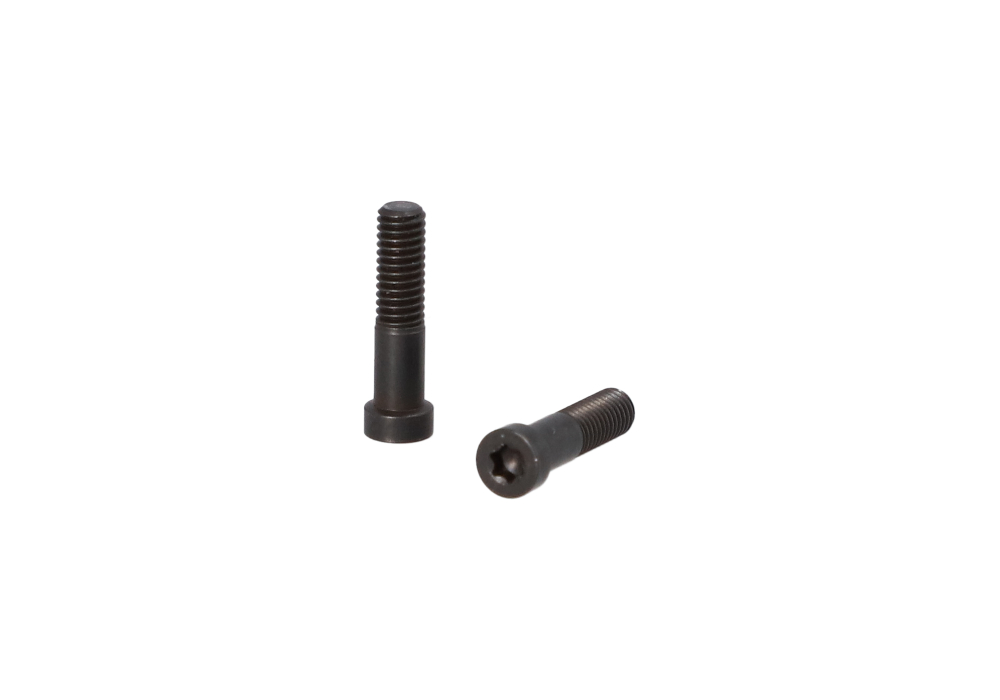
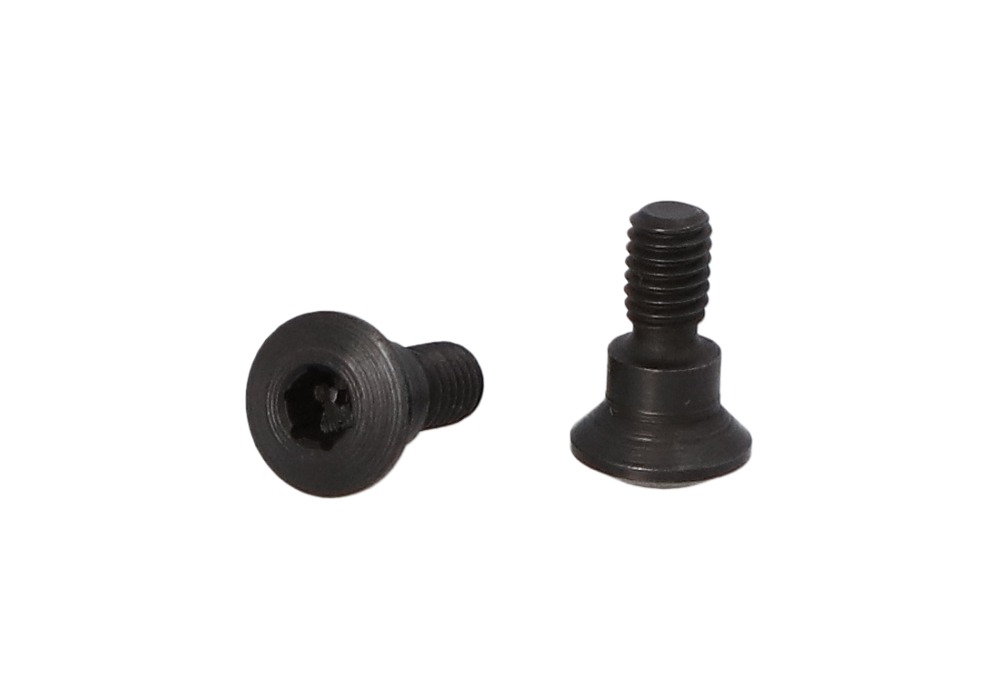
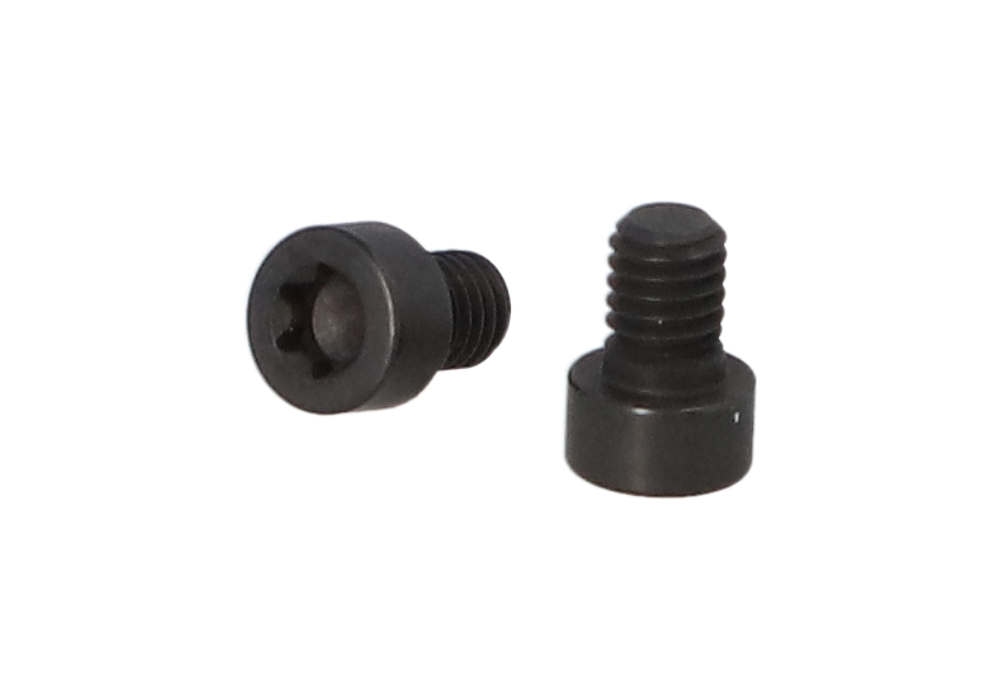
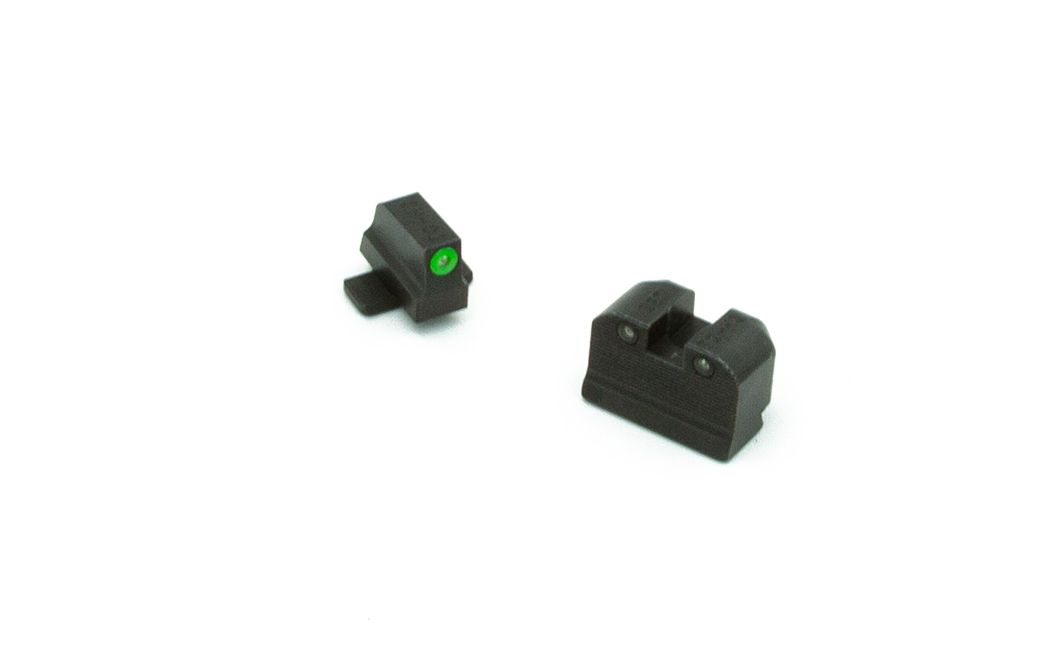
Optic installation screw sets provide the small but essential hardware needed to mount a red dot sight, reflex sight, or other compact optic to a compatible firearm slide, mounting plate, adapter, or base. Although these screws may look similar at a glance, the differences in diameter, thread pitch, head style, and length are critical. Common thread specifications include metric sizes such as M3 and M4, along with standard sizes including #4-40, #6-32, #6-40, and #6-48. The correct choice depends on the optic footprint, the threaded holes in the slide or plate, and the installation instructions supplied for the firearm and sight. A screw that appears close in size may still have the wrong pitch, and forcing it into a threaded hole can damage both the fastener and the mounting surface. For that reason, it is best to confirm the required size before beginning installation rather than relying on appearance or trial and error. Sets containing multiple sizes can be especially useful for shooters who maintain more than one optic-ready firearm, replace worn hardware, or keep spare components on hand for range equipment and field cases. Some assortments also include different head styles or longer screws that can accommodate variations in plate thickness and mounting depth. When longer hardware is supplied for a custom application, it may require careful fitting by a qualified professional; excess screw length can interfere with internal components, the slide, or the optic itself. Separate hardware such as Sight Block Screws may be appropriate for other sight-installation needs, but compatibility should always be verified for the exact mounting system.
Choosing an optic installation screw set starts with identifying the firearm’s optic cut or adapter plate and matching it to the optic footprint. Manufacturer specifications should take priority, including the listed screw diameter, thread pitch, length, head type, and recommended torque. Length deserves particular attention because the screw must engage enough threads to hold securely without extending too far into the slide or contacting sensitive components. A screw that is too short may provide insufficient engagement, while one that is too long can create problems that are not visible until the action is cycled or the optic is removed. Before installation, clear the firearm, remove the magazine, confirm the chamber is empty, and work on a clean, stable surface with good lighting. The mounting surfaces should be free of oil, debris, and old threadlocker, and the fasteners should be inspected for damaged threads or distorted heads. When the instructions call for threadlocker, a small amount of medium-strength, removable blue threadlocker is generally used on clean screw threads; excessive compound can spread beneath the optic or into nearby openings. Allowing the compound to set according to its instructions is also important. A calibrated inch-pound torque driver is preferable to estimating tightness by feel, with many optic mounting applications falling in the approximate range of 10 to 15 inch-pounds, though the correct value can vary by screw size, optic, firearm, and mounting system. The published specification should always be followed. Tightening in a gradual, even pattern helps the optic sit flat and reduces the chance of uneven pressure. After installation, verify that the sight is firmly seated, the controls move normally, and the mounting hardware remains secure during a careful function check. Rechecking the fasteners after initial use can help identify settling or movement before the firearm returns to regular practice or carry.
Optic installation screw sets are useful for new firearm owners, experienced competitors, instructors, gunsmiths, and anyone who keeps a backup sight or replacement mounting plate in their range bag. They can also make a practical gift for a shooter who spends time fine-tuning equipment, preparing a new optic-ready setup, or maintaining several firearms with different mounting standards. A compact assortment is easy to store with an optic, torque driver, and small maintenance tools, and having the correct spare screw available can prevent a damaged fastener from ending a range session early. During warmer-weather range days and throughout the cooler months, shooters often move between training sessions, hunting preparations, competition equipment, and routine maintenance, making dependable mounting hardware a useful part of an organized kit. Keep screws separated by size and clearly identified, especially when a set includes both metric and standard thread pitches that may look nearly identical. Avoid mixing hardware from unrelated mounting systems, and never substitute a screw solely because it fits partway into a hole. If the optic, slide, plate, or screw specification is unclear, consult the relevant owner’s manual or have the installation completed by a qualified gunsmith. Properly matched hardware, careful preparation, measured torque, and periodic inspection all contribute to a stable optic mount and help preserve the threaded mounting surfaces over repeated recoil cycles. With the right optic installation screw set selected for the application, replacing worn hardware or completing a new mounting project becomes a more organized, predictable part of firearm maintenance.