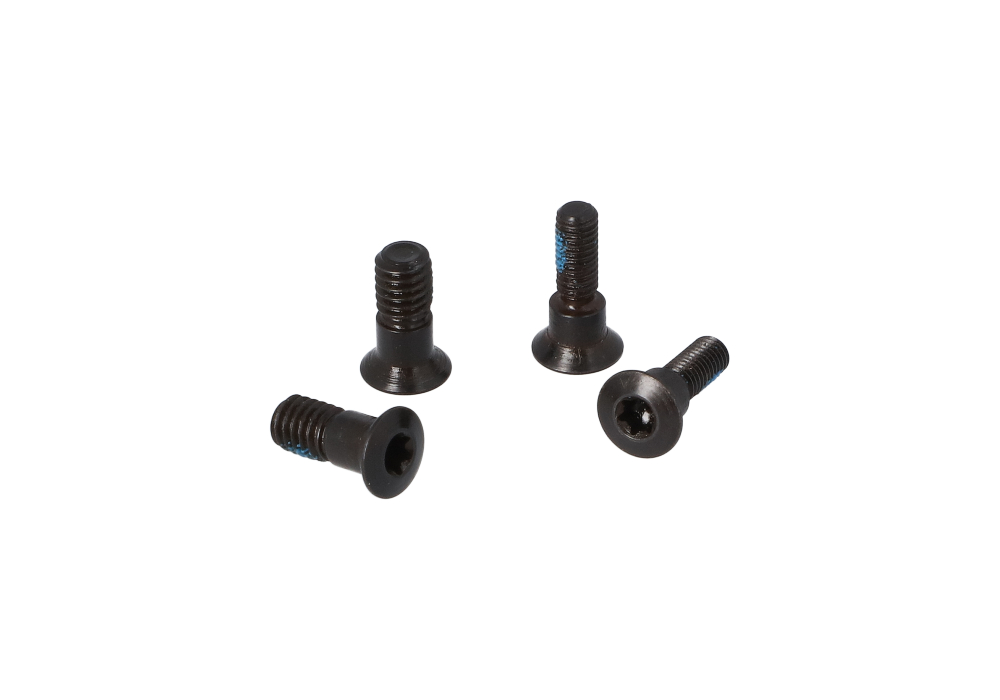
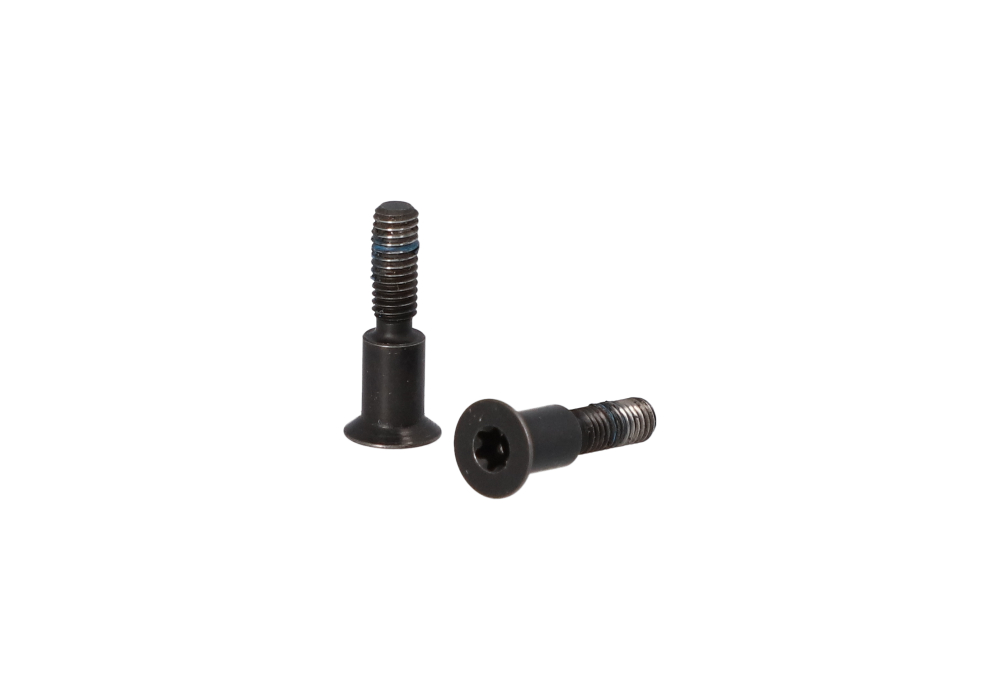
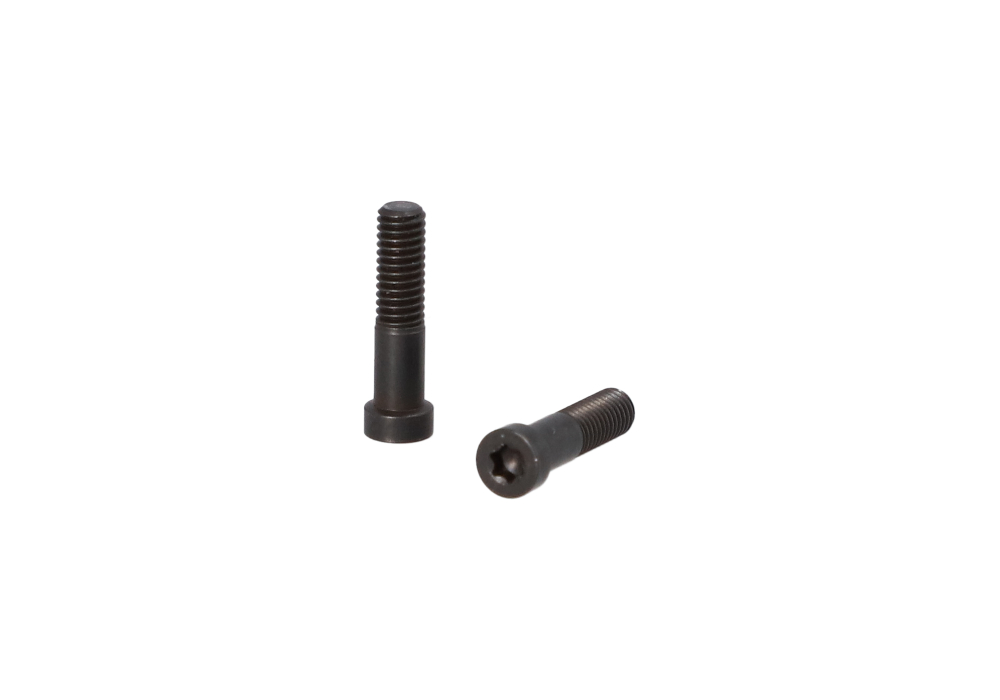
Optic ring replacement screws are small components, but they play an important role in keeping a mounted optic properly secured through handling, transport, and repeated recoil. A missing, damaged, or misplaced fastener should be replaced with a screw intended for the specific ring or mounting system rather than substituted with a screw that merely appears similar. The most important details to compare are thread diameter, thread pitch, overall length, head style, drive type, and the location where the screw is used. Cap screws that secure the upper portion of a ring may differ from base screws, crossbolts, clamp screws, or fasteners used with an adapter plate. Metric and imperial threads are not interchangeable, even when their dimensions seem close, and forcing a nearly compatible screw can damage the threads in the ring, optic, receiver, or mounting surface. Replacement hardware may be useful for a hunter preparing equipment for cooler months, a recreational shooter checking gear before a range trip, a professional who keeps spare fasteners in a maintenance kit, or anyone restoring an optic setup after a lost screw. It can also be a practical gift for a firearm owner who prefers to keep essential small parts organized and ready. Browsing related Optic Rings can help shoppers compare mounting configurations and think through which replacement hardware corresponds to their setup. Before ordering, identify the exact ring or mount model and consult its specifications, packaging, or manufacturer instructions. If the original screw is available, compare it carefully without relying only on visual appearance. A thread gauge, caliper, or accurately measured sample can help, although manufacturer documentation remains the most dependable source. Pay close attention to whether the listed length refers to the entire screw or only the portion below the head, since even a correctly threaded screw may be unsuitable if it is too long or too short for the application.
Choosing the right optic ring replacement screws also means considering the tool required for installation. Common drive styles include Torx and hex, with different bit sizes that should be matched precisely to reduce the chance of slipping or rounding the screw head. A clean, undamaged bit fully seated in the fastener makes a noticeable difference, especially when working over a bench with small parts that can disappear into carpet, gravel, or the corners of a range bag. Replacement screws are often purchased as individual fasteners or in multi-piece sets, and keeping a few correctly matched spares can be helpful when equipment is transported frequently or used in changing weather. Storage in a labeled compartment or compact parts case prevents confusion between similar screws used on separate mounts. During installation, make sure the firearm is unloaded, pointed in a safe direction, and separated from ammunition. Remove dirt, oil, old adhesive, and debris from the screw and threaded hole as directed by the mounting system instructions. Start each screw by hand and turn it gently to confirm that the threads engage smoothly. A screw that binds immediately, sits crooked, or requires unusual force should be removed and checked rather than tightened into place. For final installation, use an inch-pound torque wrench and follow the torque values supplied for the particular ring or mount. Overtightening can strip threads, distort a ring, damage an optic tube, or place uneven stress on the assembly, while insufficient tension may allow movement during use. Tighten fasteners in the recommended sequence and, where applicable, alternate between screws so pressure is distributed evenly across the ring cap. After mounting, inspect the optic from several angles to confirm that the ring halves meet as intended and that no fastener is protruding into a moving part or contacting the optic in an unintended location.
Removable thread-locking compound may be appropriate for some mounting applications, but it should never be treated as a substitute for correct screw selection or proper torque. Use only the type and amount allowed by the manufacturer; a small application on clean threads is generally preferable to coating the entire fastener. Some screws arrive with a pre-applied locking treatment, and certain materials, finishes, optics, or mounting systems may call for a dry installation instead. Follow the supplied instructions whenever they differ from general practice, and allow any recommended curing time before firing or transporting the firearm. After installation, check the mount again after the first use and periodically as part of normal equipment care, particularly if the firearm has experienced substantial recoil, hard travel, or rough handling. A compact set of optic ring replacement screws makes sense in a range bag, workshop drawer, hunting pack, or vehicle kit, but spares should be clearly identified by size and application rather than mixed together with unrelated hardware. When selecting replacement fasteners online, product descriptions that list thread pitch, length, head type, drive size, finish, and intended use provide more useful information than a listing that simply calls a screw “universal.” If the specifications are unclear, pause the purchase and verify them through the ring or mount manufacturer, a qualified gunsmith, or a knowledgeable retailer. Careful matching helps preserve the mounting system, supports repeatable optic placement, and reduces the frustration of discovering a missing or damaged screw when equipment is being prepared for a hunt, a training session, or a quiet day of sighting in.